Google Signed-In Bots
Google Signed-In Bots
This guide applies to Google Meet.
By default, MeetStream bots join as anonymous users. A signed-in bot logs into a real Google account before joining — so it appears as a named participant, not a guest.
Use this when:
- The meeting blocks anonymous/guest users
- You want the bot to appear with a name and avatar instead of “Unknown”
Prerequisites
- A Google Workspace account with a custom domain (e.g.
yourcompany.com) - Access to your Google Workspace Admin Console
- Terminal access to run an OpenSSL command
Setup
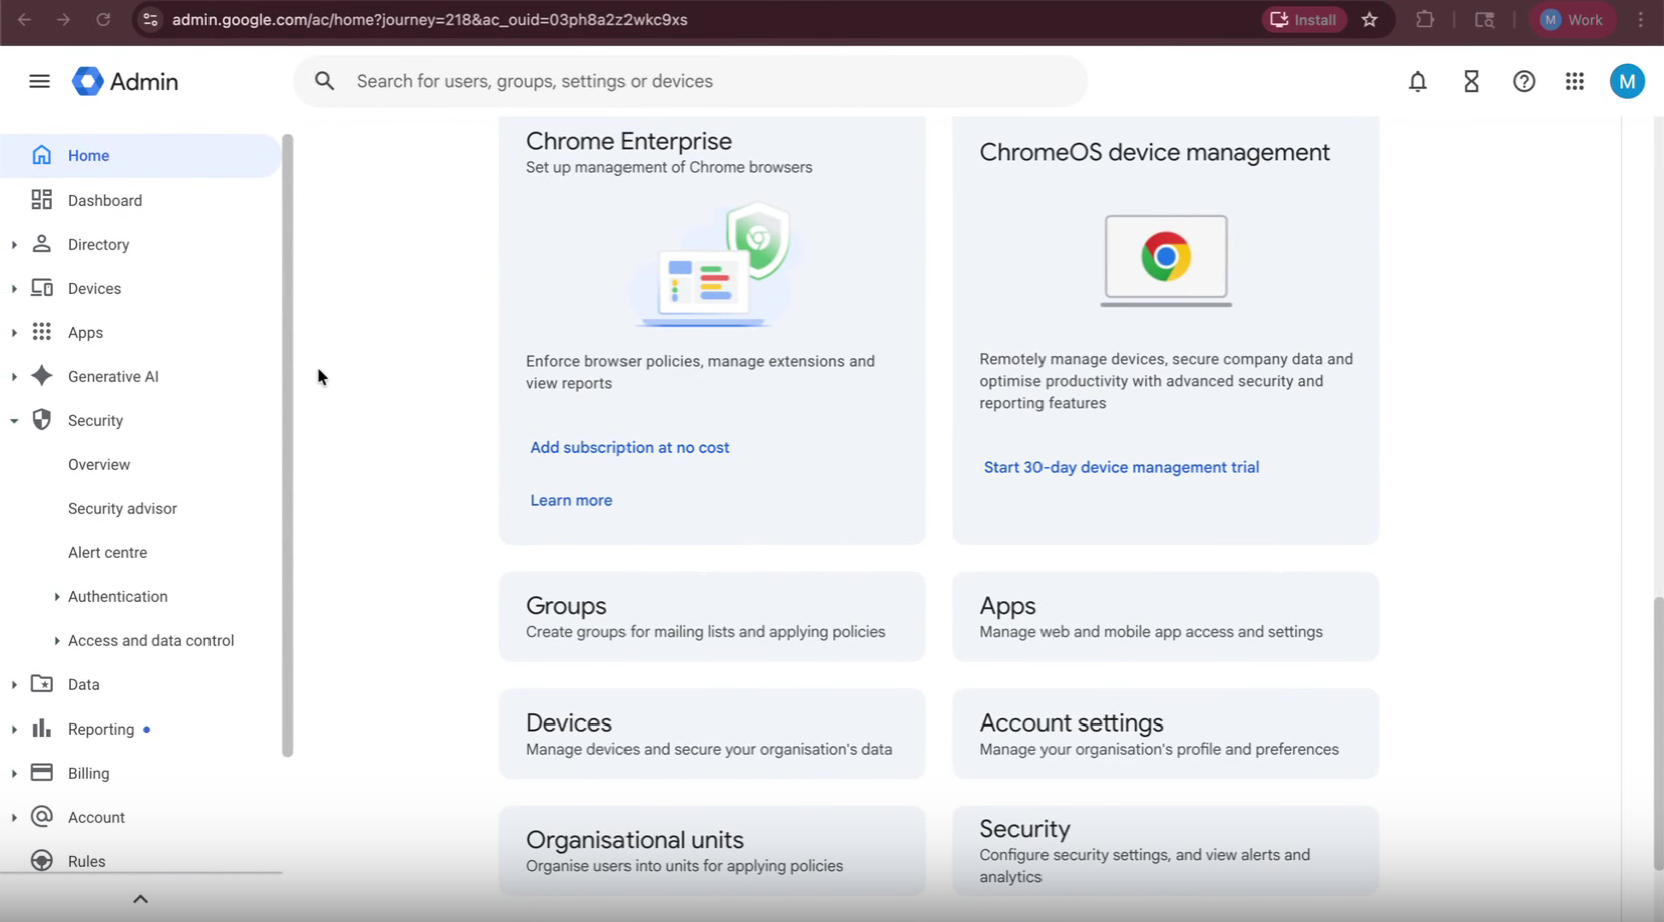
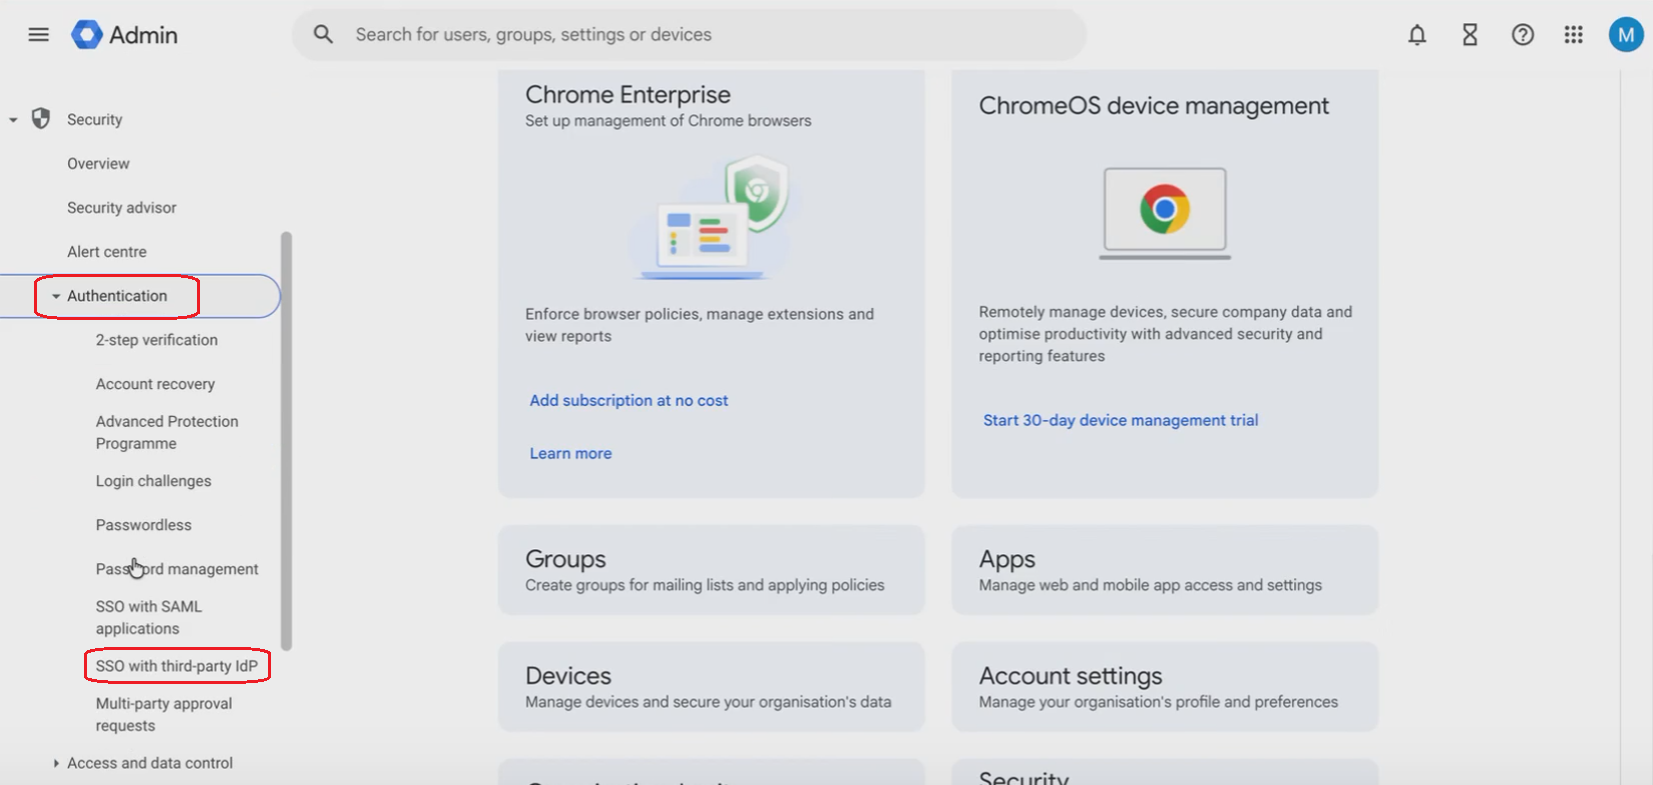
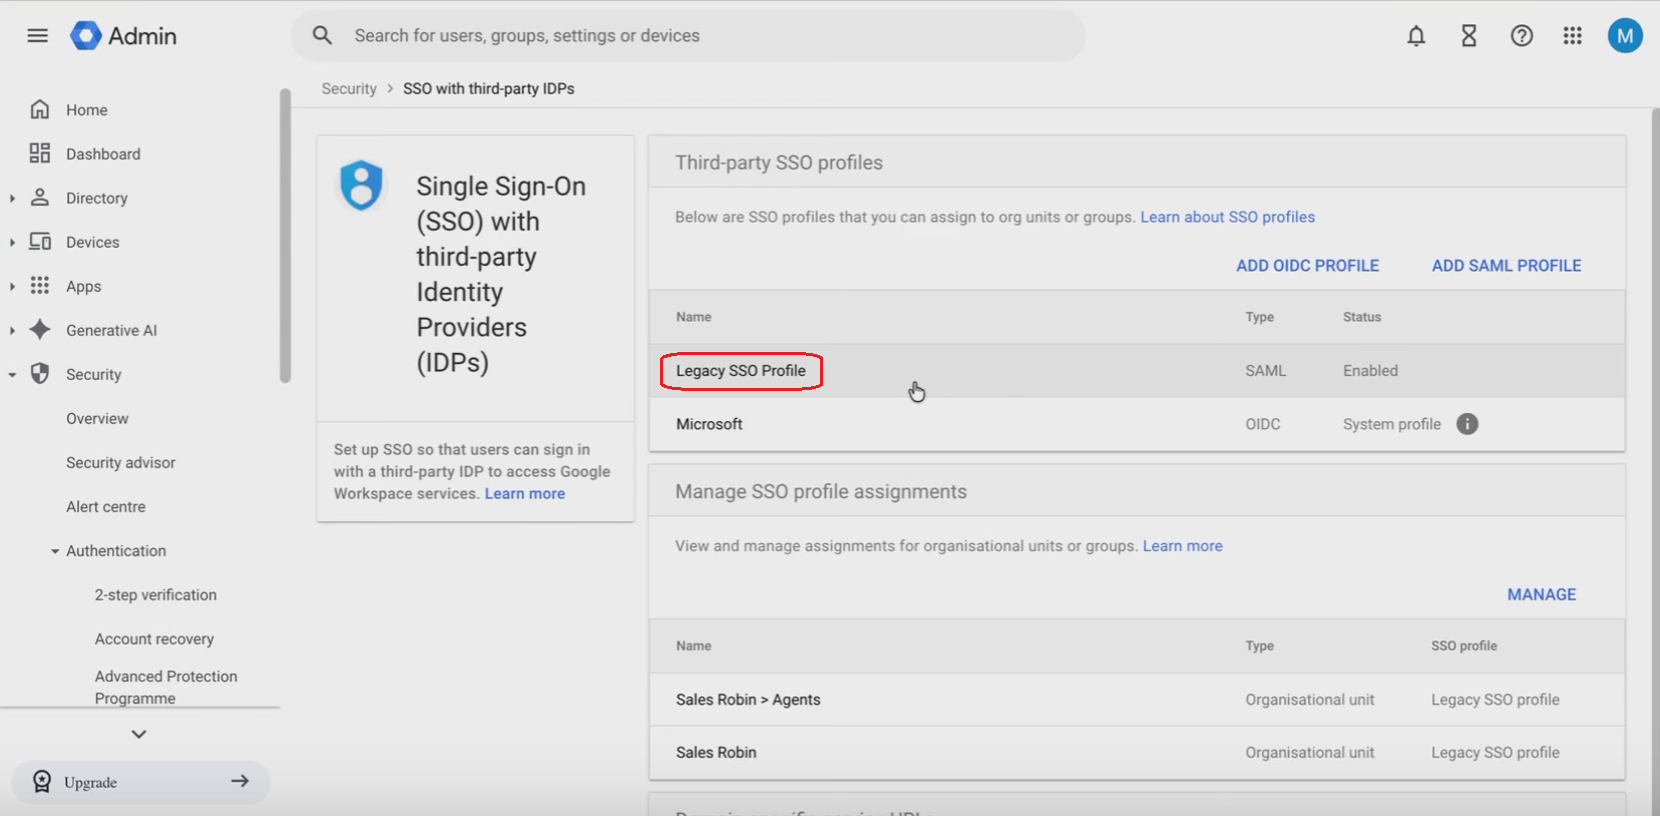
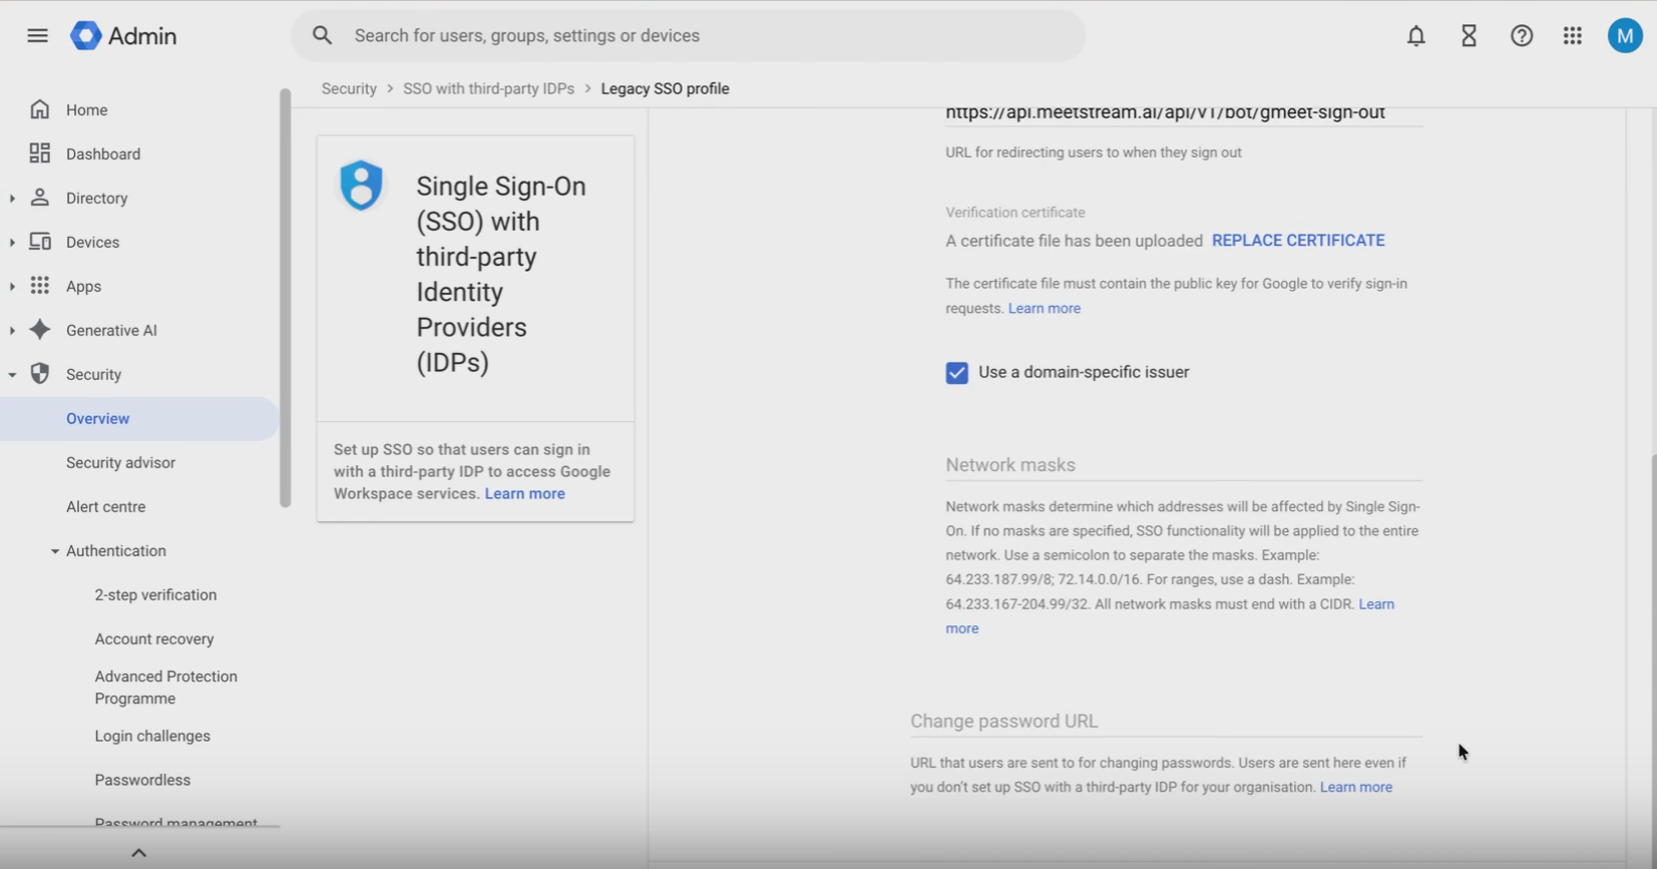
Enable the Legacy SSO Profile
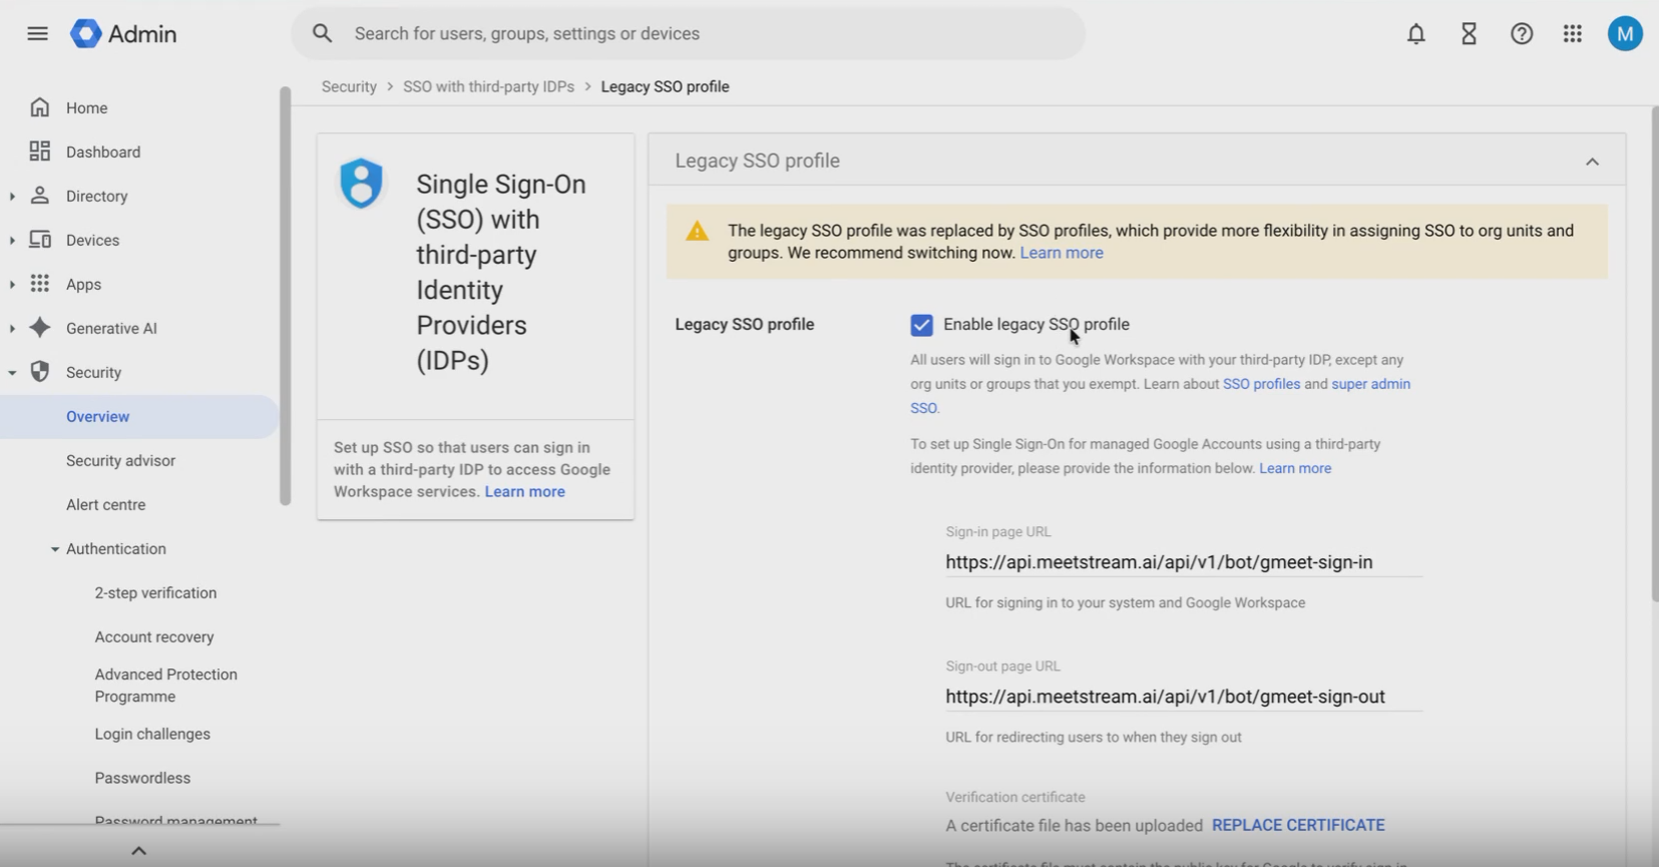
Turn on Enable legacy SSO profile and fill in these URLs:
Sign-in page URL
Sign-out page URL
Also enable Domain-specific issuer on the same page.
Generate a Certificate
Run this command in your terminal:
This creates two files:
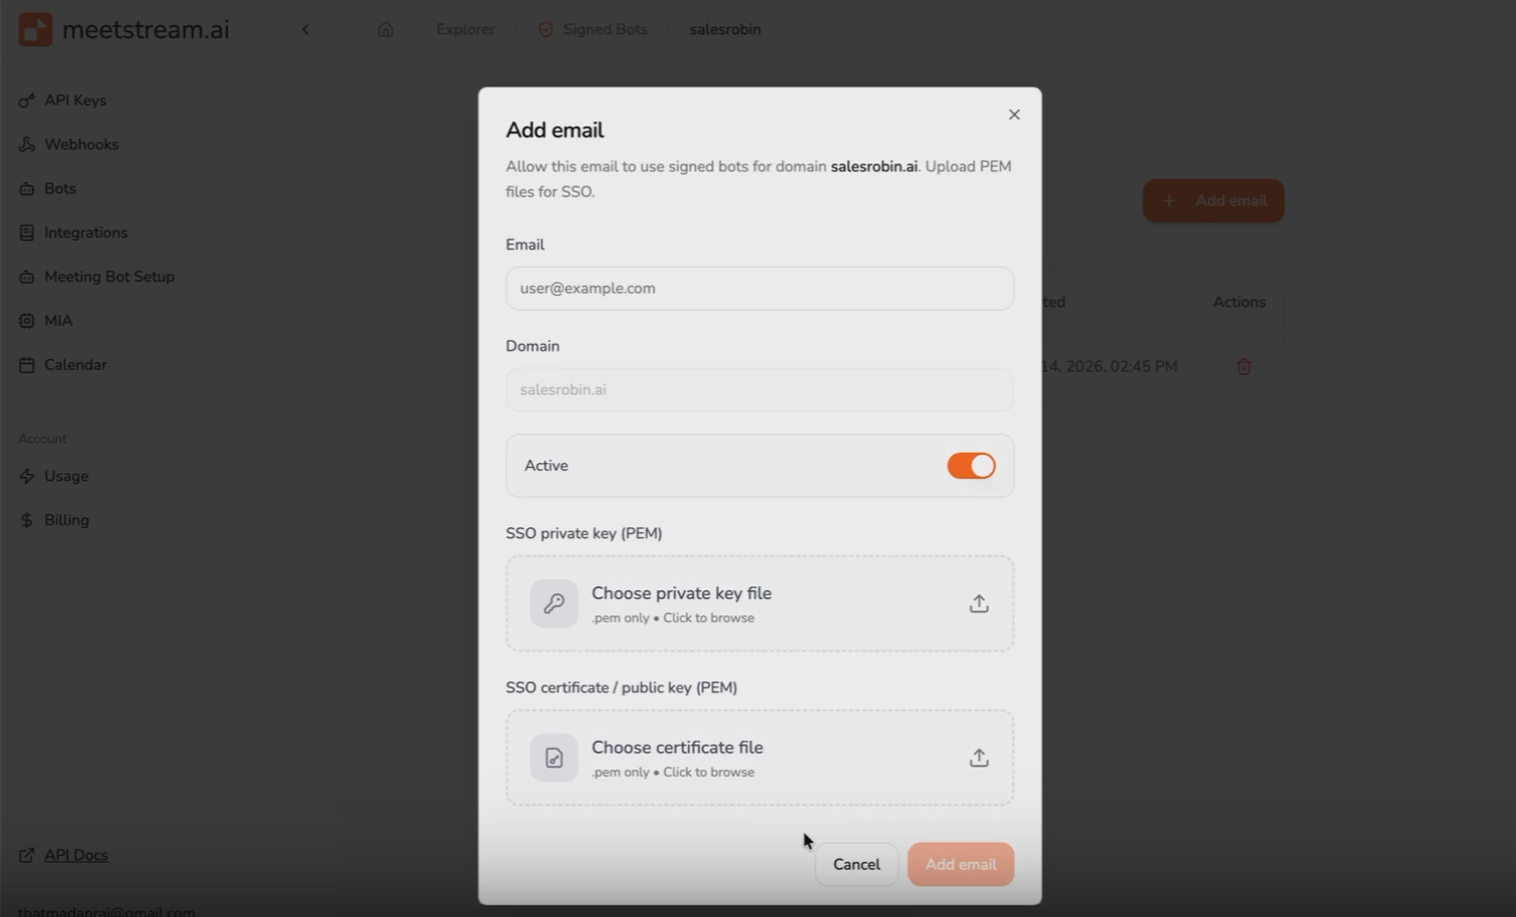
key.pem— your private keycert.pem— your certificate
Save both. You’ll need them in the next steps.
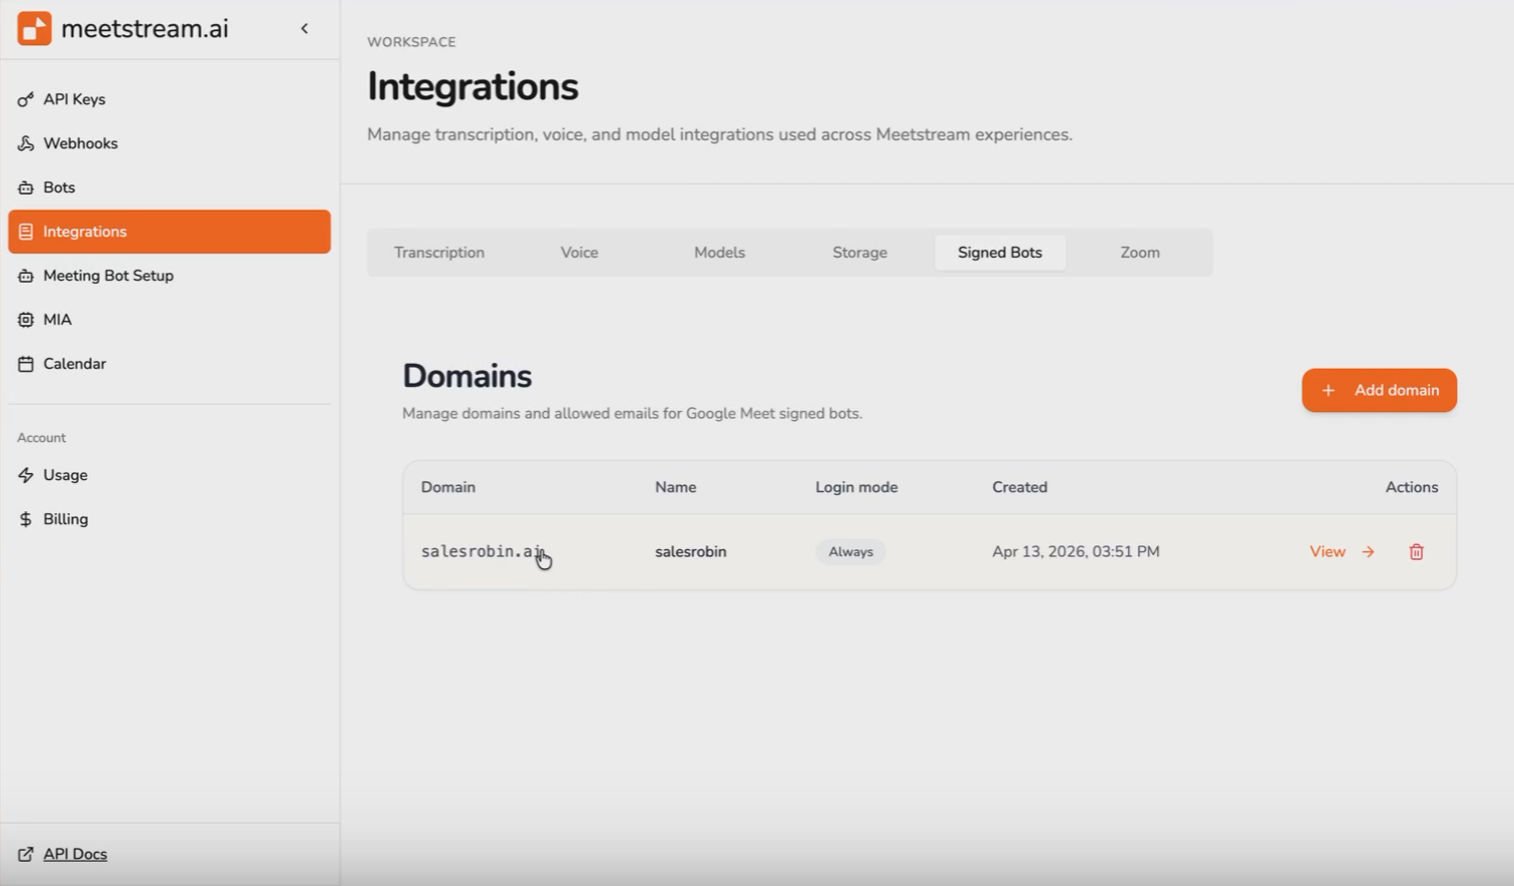
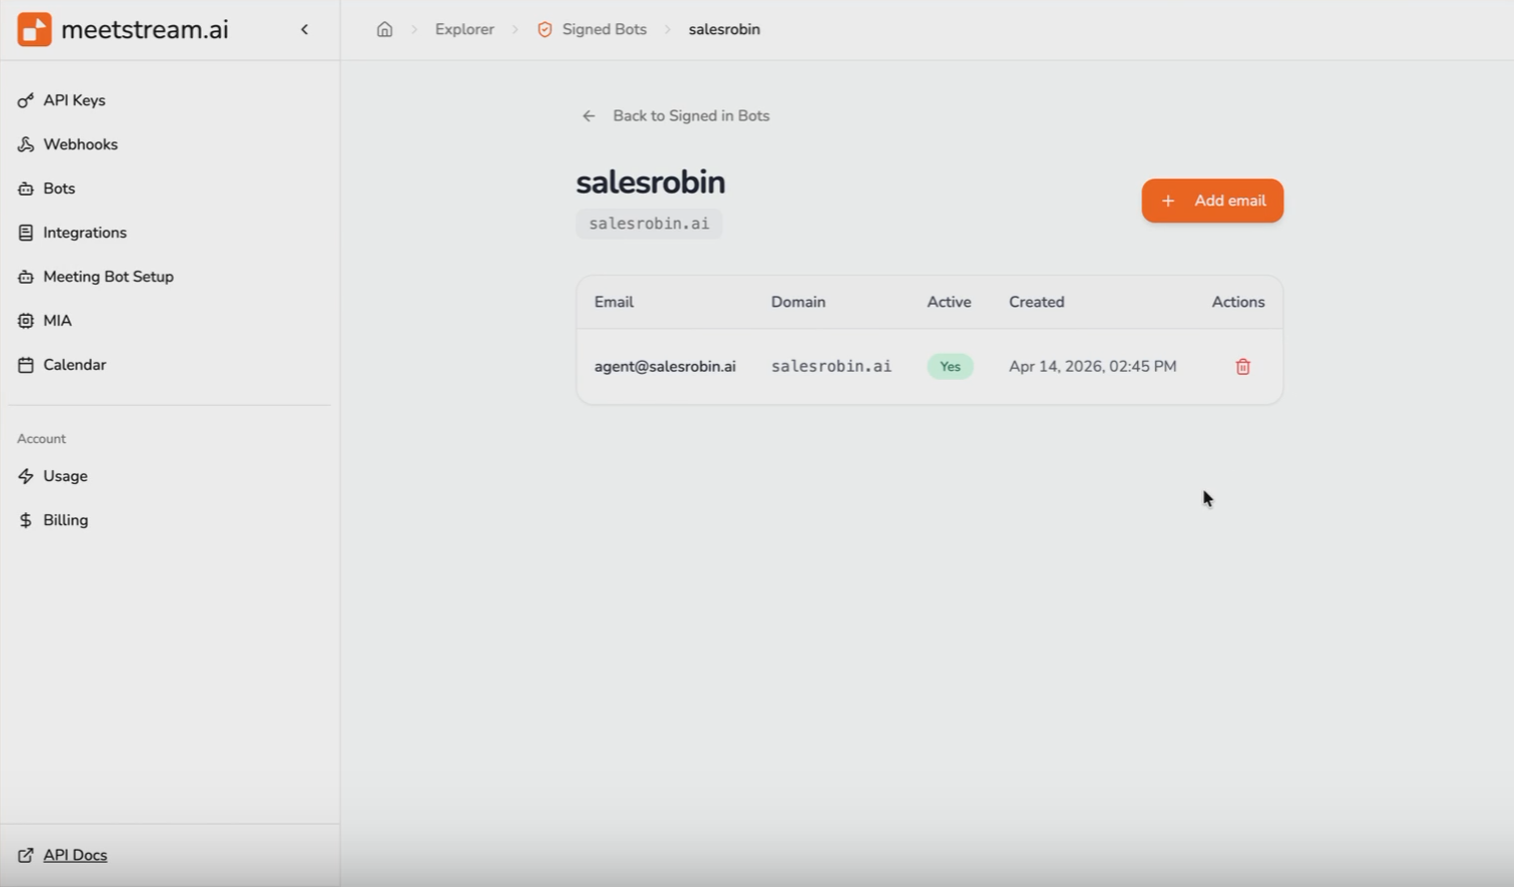
MeetStream Dashboard Integration
In the MeetStream dashboard, go to Integrations → Google Signed-In Bots.
Deploy Your Signed-In Bot
Now you are ready to use Google meet using configured email identity! When calling the Create Bot endpoint, pass the following parameter to activate Google Meet sign-in:
Here is an example with a full working payload that supports signed-in bots for google meet:
For general bot setup, see the Create Your First Bot guide and webhook event handling, see Webhooks and Events.